Sunday, August 2, 2015

Creative You Summer Sewing Camp

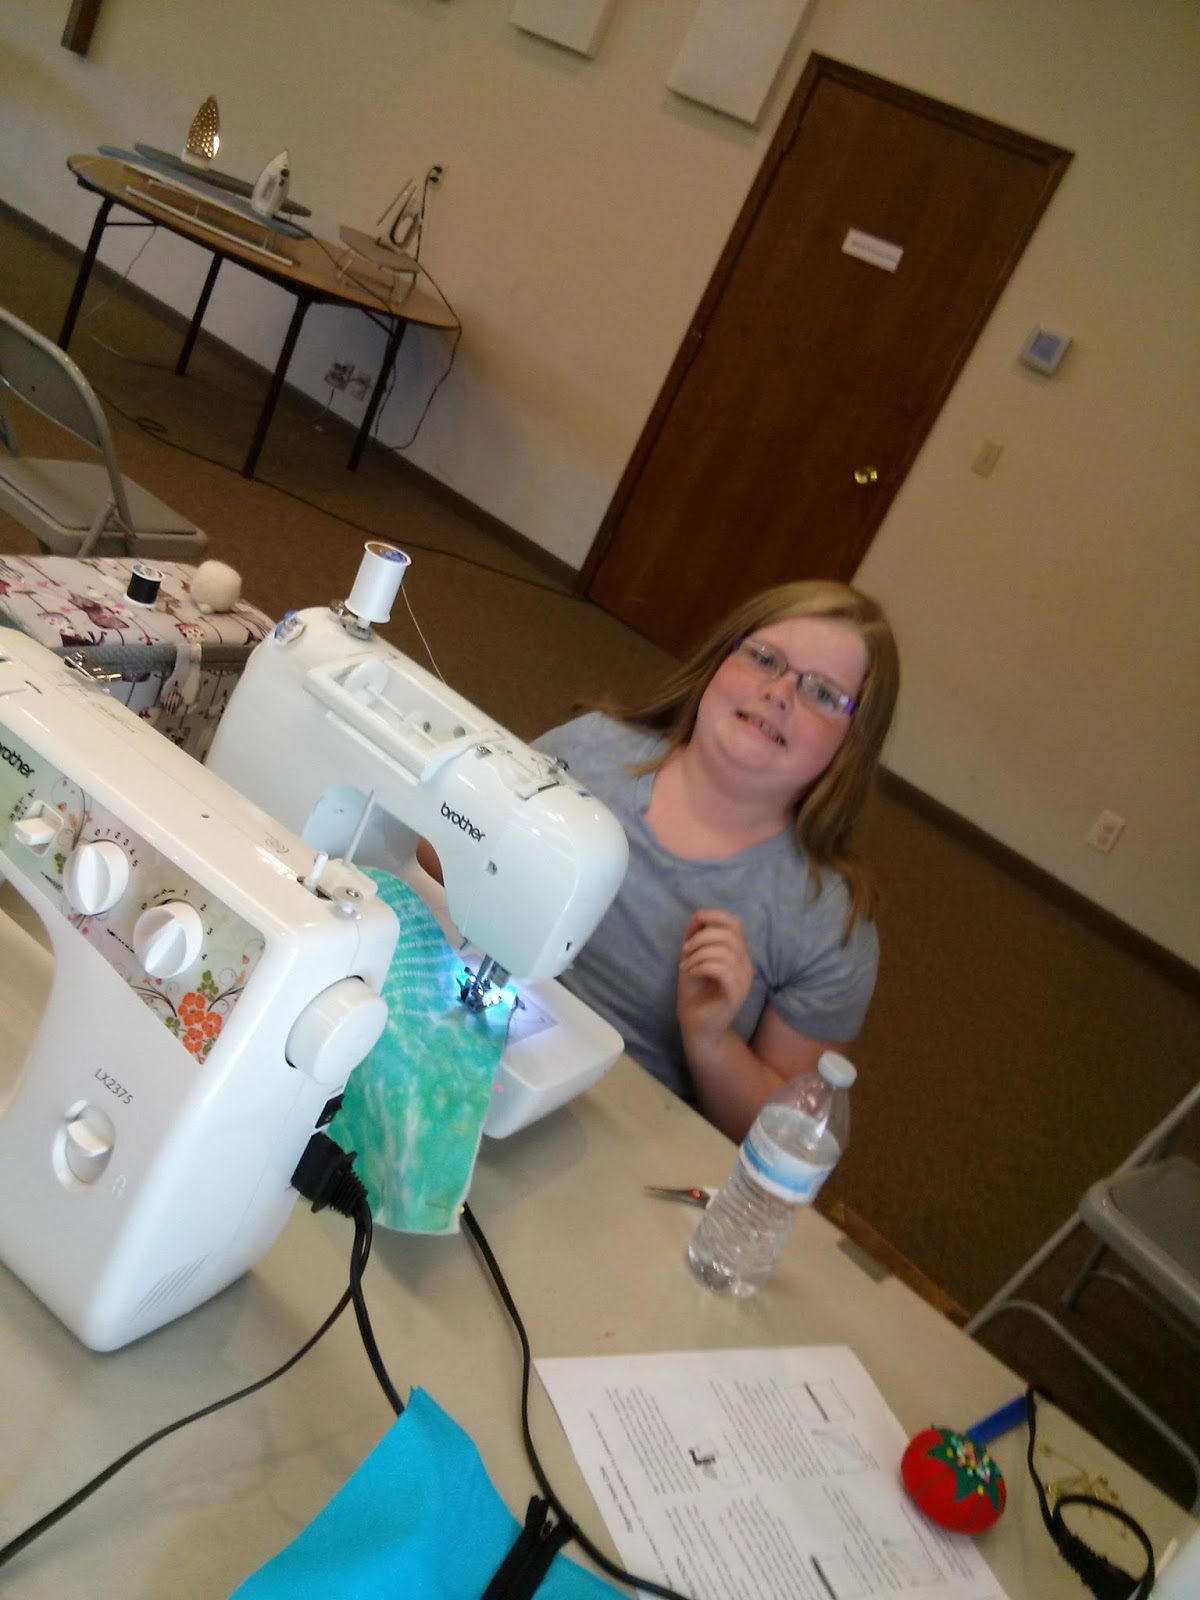
For the past several summers I've had the pleasure to be part of summer sewing camps sponsored by the Clothing and Textile Advisers of Kitsap County.  I helped with two "Creative You" camps where campers dyed fabrics using such fun methods as ice dyeing and shibori dyeing.  We also did sun painting, a process where you apply thespecial paint to the fabric then cover it with leaves, flowers and other cut out designs and leave it to dry in the sun.  Everywhere you place the items on the painted cloth the dye does not react with the fabric.  You end up with this amazing shadowy effect that is really beautiful.  The kids also had the opportunity to learn about wool felting.  They did a wet felt process and well as learning to needle felt.  They spent the last two days turning their beautiful artistic fabric into book covers, purses, tote bags, pillows and stuffed animals.Their projects turned out incredible.  It was a blast!!


Sunday, July 26, 2015

Fathers Day Cards

Oh, my gosh!   ...seems as though the summer is flying by...  Here is the artwork cards the students created for Father's Day.  The subject was tools and really bad puns.  Brown paper and construction orange card stock added to the theme.    Some of the "so bad they were good" sayings:  "Thanks for drilling good stuff into me";  "You nailed it as a Dad"; "Thanks for helping me when I screw up".   G-R-O-A-N..... 


Monday, May 25, 2015

Memorial Day Poppies

Today in art class we created poppy artwork in honor of Memorial Day.  I asked the kids if they'd seen anyone wearing red, paper poppies on the shirts and asked if they knew why.  I talked about symbols and how they help us remember important stuff.  We talked about World War I being fought in Europe and about the poem "Flanders Field" by John McCrae.  (Several of the kids knew about it from school.)  Keeping all of that I mind we created our pieces in watercolor by using a straw and watercolor along the bottom of the page to create the grassy field. We got fresh water (excellent opportunity to talk about complimentary colors and what happens when you mix green paint water with red paint...).  We put little puddles of water each place we wanted a poppy and dripped yellow, orange and red paint into the puddle and tipped our papers to get the colors to run together.  As they drying purple was added to create the dark centers.  After projects dried some chose to add pen and ink details.  The results are wonderful!


Tuesday, May 12, 2015

Floating Spheres

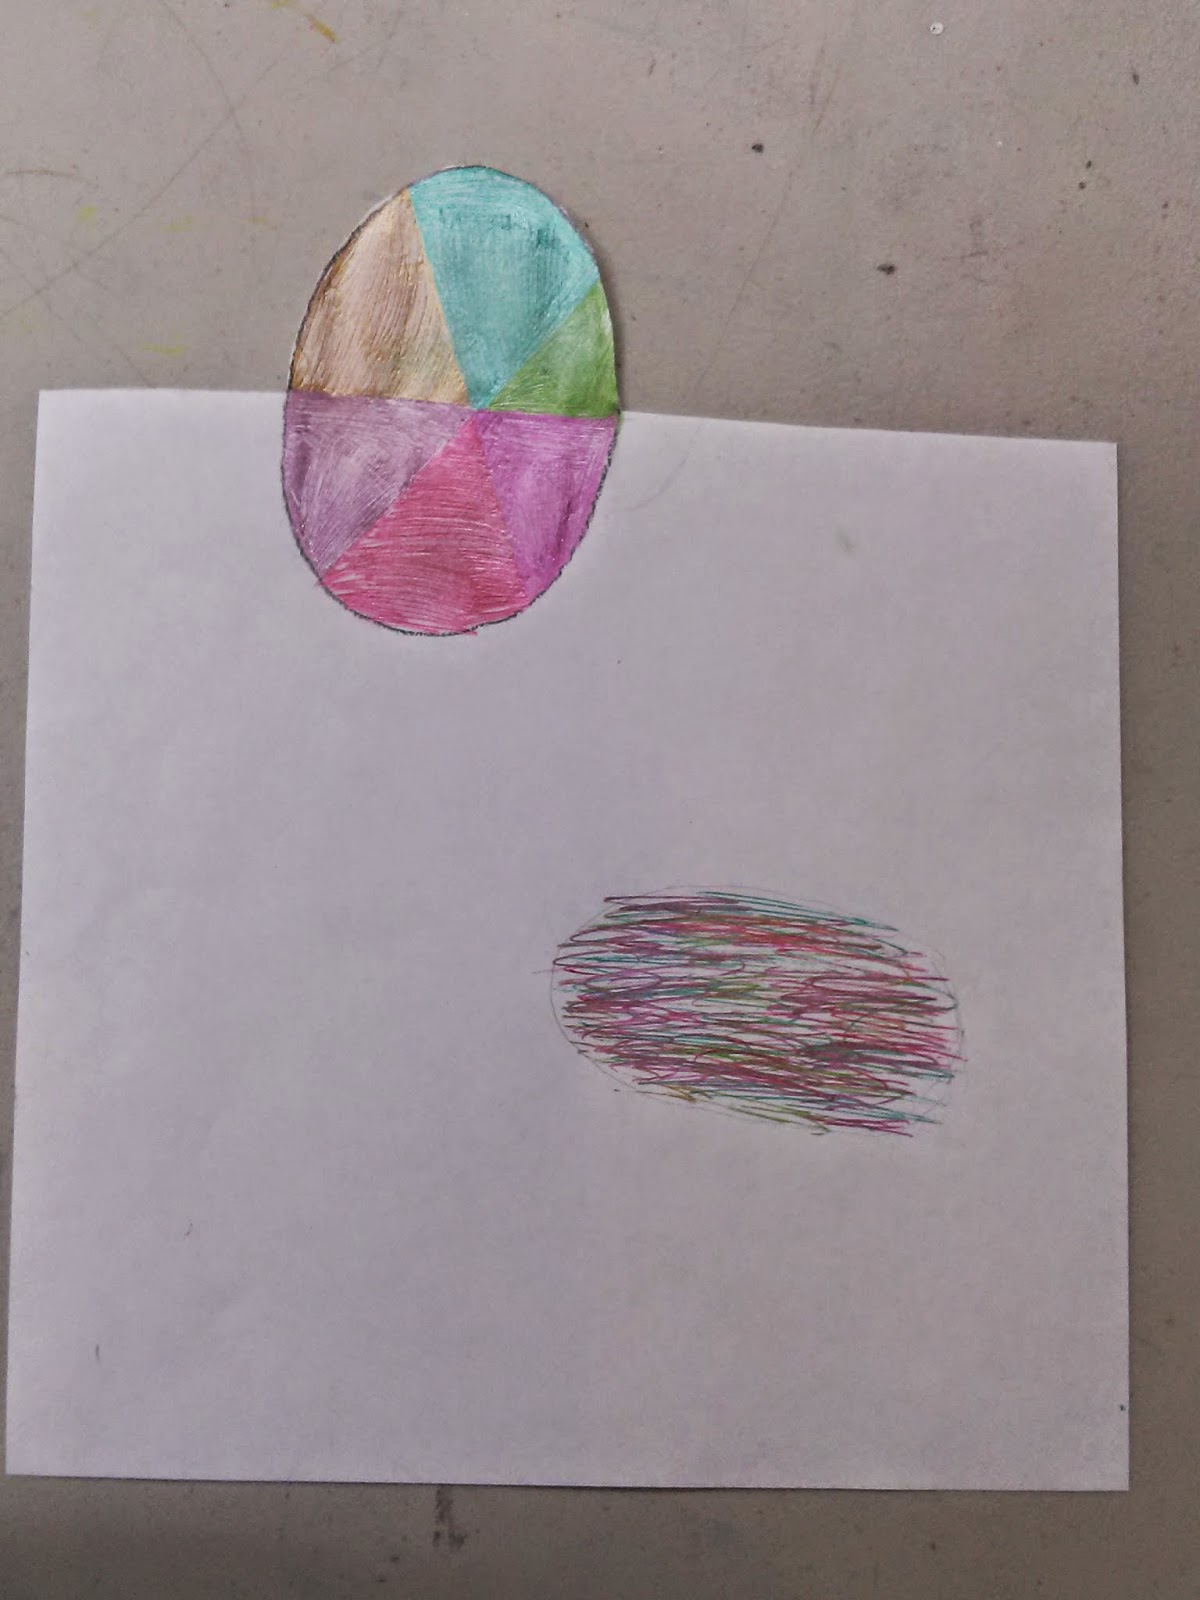
This week in art class we used our phones, Ipads, Ipods and cameras to create optical illusions with our artwork.  We created and shaded oval shapes and added a dark shaded oval just off to one side.  We added a "horizon line" keeping that line parallel with the top edge of the paper, then we cut along the line and around the top half of our ovals.  The first pictures show our pictures "straight on".  Then we tilted our cameras and photographed our artwork from an angle. It was so cool!  I looked like our ovals were balls floating above the paper.  Really fun project!!!

 
These are photos of our drawings "straight on"...


The floating sphere illusion is created by titling the camera when taking the photo.


Monday, December 22, 2014

Glowing Lights


It's the last class before Christmas and the kids created these wonderful glowing lights.  We had been talking about the importance of contrast and this project was a perfect example.  I found the lesson on Pinterest... search "draw Christmas Lights"...